My Blog
Tips, Resources, and Strategies for High School Science

5 TIPS FOR VIRTUAL HIGH SCHOOL SCIENCE LABS
Being an online middle and high school science teacher means conducting virtual science labs frequently, at least it does for me. Some schools provided the labs and activities in the online curriculum. I was on my own to research and made my own for other schools or private tutoring.
And boy, have I some lessons learned! The main takeaway is that the common components that made my online lab experiences a success were similar to the best practices for my labs in the traditional setting.
“The common components that made my online lab experiences a success were similar to the best practices for my labs in the traditional setting.”
5 LESSONS LEARNED FOR CONDUCTING A VIRTUAL HIGH SCHOOL SCIENCE LAB
I’m going to share 5 things I’ve learned I must have in my virtual middle and high school labs, along with a few virtual labs and simulations that engage students and deepen their comprehension. Over the next few blogs in this series, I will share other lessons learned and resources. Some resources are ideal for any time during the year, even at the end of the school year!
1. Start with a scenario, then pose a question.
Have you ever experienced this? Students have a blast working a lab you spent a ton of time prepping. They are working through the procedures, helping each other, writing data, and having fun while doing it! WooHoo! A success!
But in the end, they struggle to answer even the most straightforward questions about the concepts behind the lab. And you realize that they don’t know why they did this lab but had a lot of fun doing it! Then, you have to spend even more time after the lab going over what you wanted them to get during the lab.
Been there and learned the hard way that taking 5 to 10 minutes on the front end to
layout a scenario,
propose a problem,
and have them think about how to solve the problem saves time on the back end.
A scenario is not the same as the purpose statement. I like to think of the scenario as a real-world story that students can relate. It lays the background for the problem. And spending a little time having them think of a solution to the problem can help set the ‘tone of thinking’ during the inventions. And it serves as an anchor that I can constantly refer back to throughout the lab.
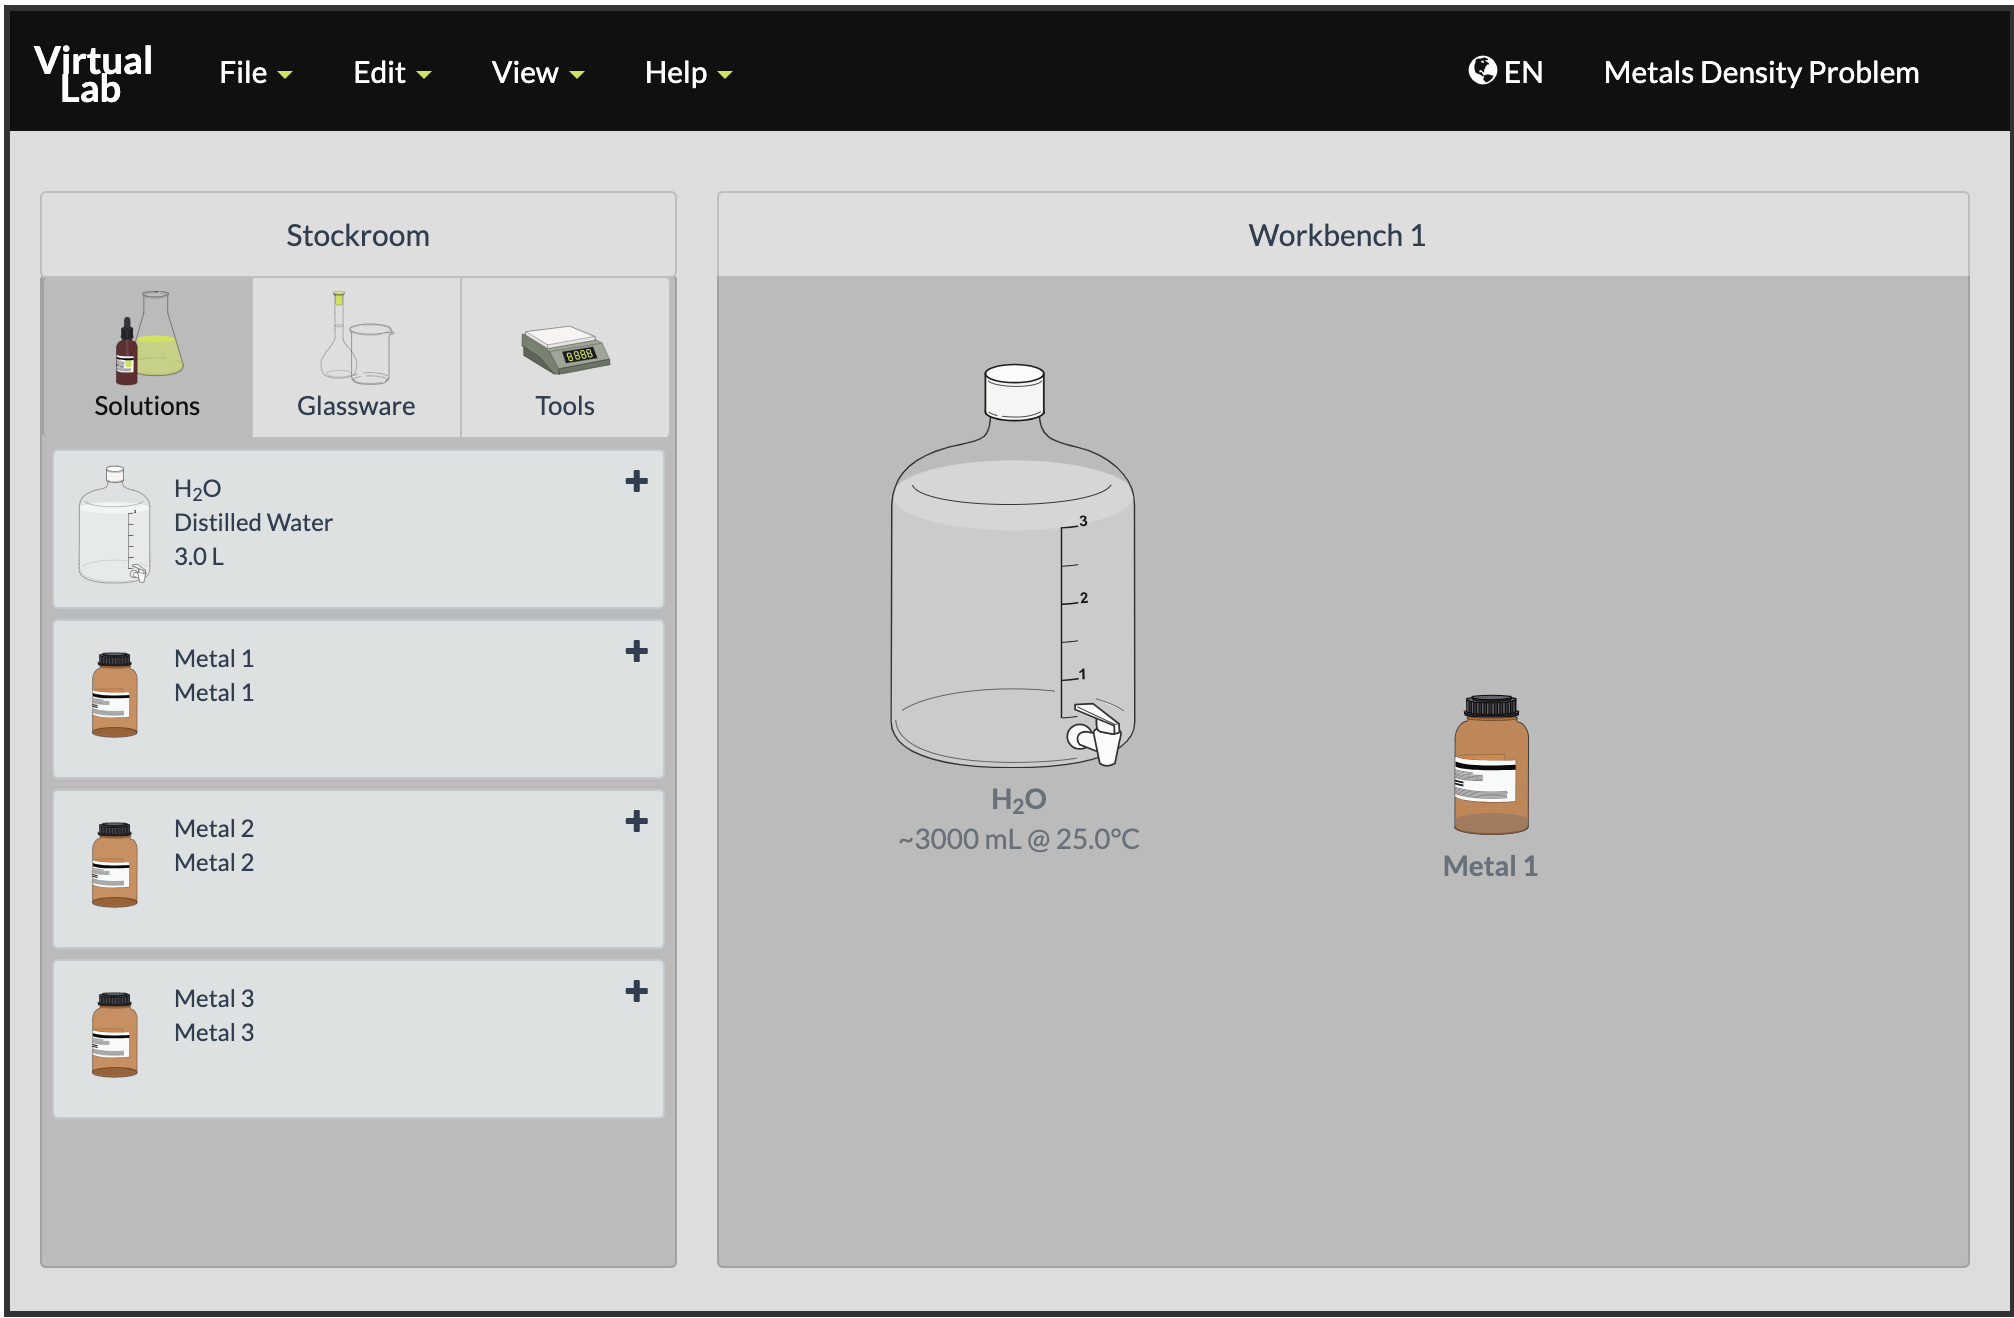
ChemCollective includes scenarios in many of their labs. This is super helpful if your creative energy is limited to molecules, like me! Here’s an example from the Identifying the Unknown Metal virtual lab from ChemCollective.

2. Share your screen and model each step of the lab
It’s super frustrating to get them to the point of starting the lab, only to have them not participate!
If they don’t know what to do, they will find something else to do. And most likely, it will not be your class!
The key here is never to assume that they know how to work the technology. We don’t have the advantage of walking around a physical classroom to see which students are stuck. The first thing I do is to let them get used to working the controls.
Share the link to the sim with them first. Share my screen and show them how to log in or access the one we are using
Show them all of the controls and components
Then, let them play around with them
Set a timer for about 2 minutes, tell them to type any questions they have in the chat. Invite them to share what they are doing, what tricks they have discovered
Then, once they’ve gotten comfy with operating the controls, I model what I want them to do.
Explain to them that I will show them how to complete all steps of the lab by doing the first trial
Walkthrough each step of the first trial of the experiment
As silly as it may sound, I talk through each step using more of a Think-A-Loud. I explain why I’m doing each step and relate it to the problem presented in the scenario.
Include how to record the data. Show them you going from the lab to the document where you want them to record their data.
And very important, including how to use the mic or chat to talk to their group members. I’ve found that I get more peer-to-peer interaction with this than without!
3. Use a common document for lab results
I’ve tried using a slide within my presentation and copying that slide to each breakout room for students to record their data. This is great because it reduces the number of open tabs for each student during the lab. The challenge was in collecting each groups’ data chart. Depending on the platform you use, this could be tricky, especially if you have another class!
I prefer to have a shared document, such as a Google Document or Kami, and share it with the class. Each group will have their data table to complete. I also found that they liked this because it provided validation. It was like the groups in the traditional setting being able to ask a neighboring group what they were doing, just to be sure they were on the right track.
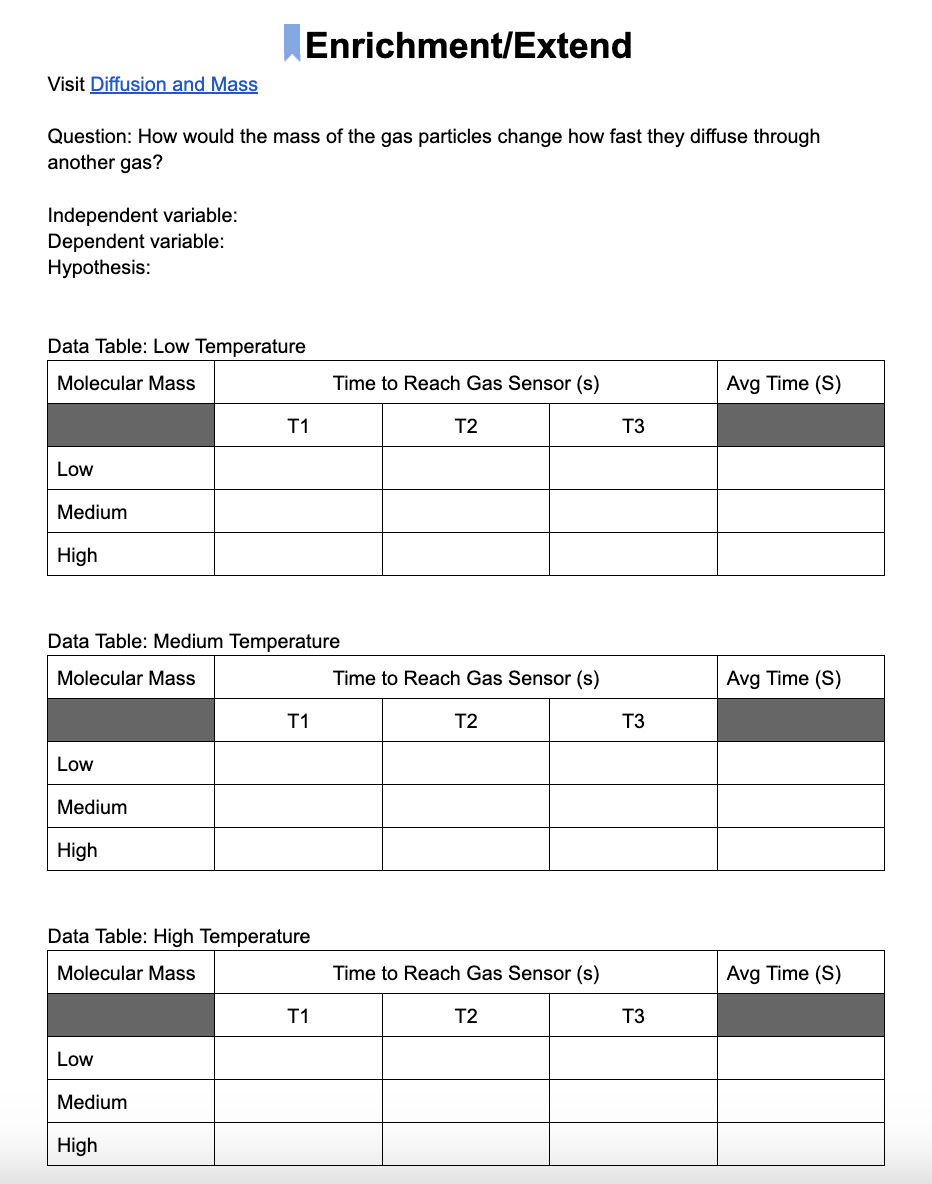
This is an example of Group Data, a partial one from the Diffusion and Molecular Mass virtual simulation from The Concord Consortium, that I turned into a virtual lab. Be on the lookout for the next blog in this series, where I go through 3 to 4 of my favorite go-to sites for virtual labs and simulations!

4. Bring it all together with class data
Woo! This is a tough one for me because this is the step I am guilty of skipping more times than not. And, I have experienced the benefit of this step! Time is a precious commodity that we have so little of with all of the other distractions.
Adding a data table that incorporates each groups averages to the end of the shared document makes this part easy and time-efficient!
Each group elects one person to take their averages from each trial and plug them into the class data table. And voila! Not only have we increased our data points by the number of groups in the class, but it made it easier to compare data across each group! This is awesome for comparing trends between smaller and larger data sets.
5. Make them write it out!
Bringing them back for the discussions is essential. This is part of the peer-peer discussions around data that brings them all on the same page. But the writing is what takes that discussion to the next level.
And while this is another step that is often skipped, it should always be included. Let me explain why.
What if you’re asked to write a summary of what you just read in this post. It all makes sense as you read it. But to have to write about it just made you stop and rethink all that you just read. This would be the same if you had just discussed this with a colleague. It’s the stopping to reflect and rethink that takes the learning from the lab to that next level of comprehension.
It takes practice to plan each of these components in my virtual activities. And like many things, the more you do it, the easier or faster it gets. I’m constantly looking for new strategies. Let us know how you use virtual labs and simulations. What has worked?
All Rights Reserved 2023 - (C) TheScienceMentor.com -TM | Terms & Conditions | Privacy Policy | Disclaimers
